January 29, 2015 / Kat / Comments Off on Applying Bias Tape- the S-M-O-O-T-H Way!
(I get so many questions about
bias tape… how do I make it, how do I get such a smooth finish etc.
etc., so I thought it was LONG PAST time that I did a series devoted to
bias-taping so…here’s the 3rd and last post in a three-post
mini-series.)
So…now that we’ve made our bias tape, it’s time to apply it.
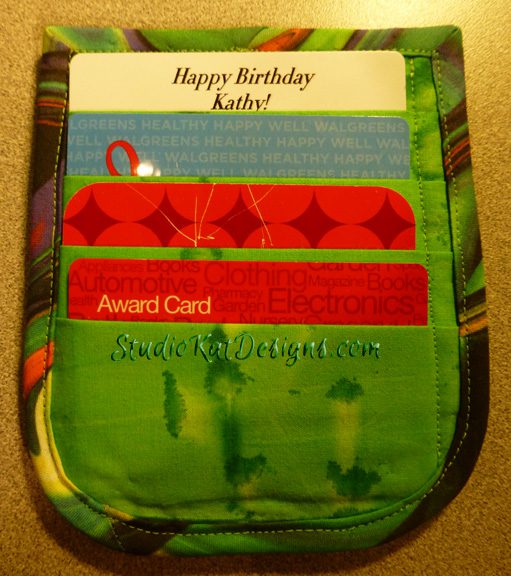
I’ll be using one of our Card Caddies for this demonstration. It’s
small enough to get the entire project in the picture AND it has two
curved corners AND two 90 degree corners, which is perfect this tutorial
since my goal is to show you how to cover this entire perimeter with
one continuous piece of bias tape! So let’s get started!
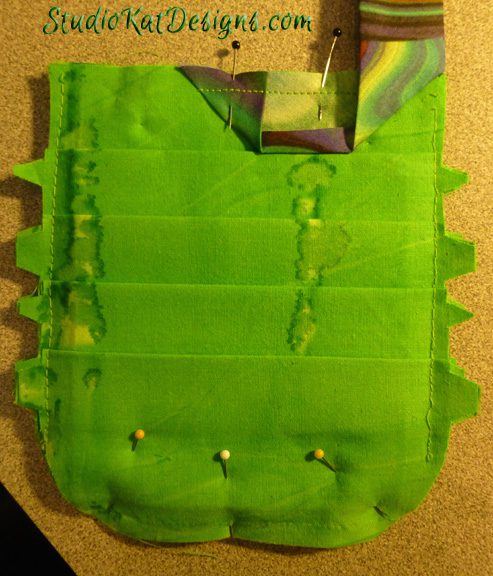
1- Begin by folding one end over diagonally (wrong sides together). Now align the free bias tape edge with the raw edge of your project, heading toward the first 90 degree corner. Carefully put a little tick mark on your fabric edge EXACTLY 1/4″ from the corner edge. Stitch 1/4″ from edges beginning at the folded over end and stopping EXACTLY at the 1/4″ tick mark you made.
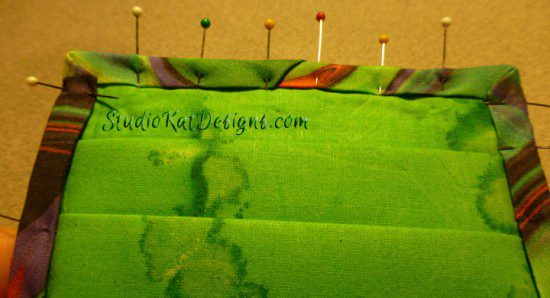
2. Next, pull the bias tape straight UP, then
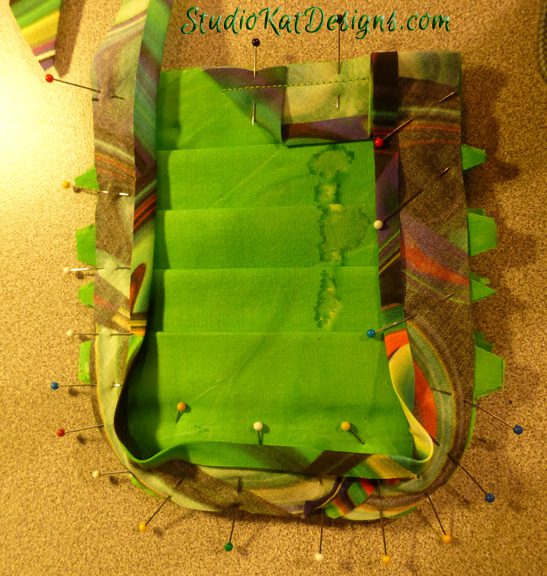
3- Fold bias tape DOWN again so that it overlaps the stitching underneath AND the fold is exactly even with the top edge of your project. Now continue aligning the bias tape with the raw edges of your project. As you approach the first curved corner, I always recommend that you tug your tape just a bit as you place each pin. Don’t pull it super tight mind you, but you do want to stretch it just a bit. You’ll be glad you did! Continue pinning it place around the 2nd curved corner and up to top of project. Don’t forget to make another little tick mark on WS of your fabric edge PRECISELY 1/4″ from top raw edge. (You can see where I made my tick mark in this picture.)
4- Beginning at top right corner edge, stitch 1/4″ from edges around bottom of project and up left edge stopping precisely at the tick mark you made in the upper left corner of your project. Now pull remaining loose bias tape straight to the left, then fold it back again so that the folded edge is exactly even with the left side edge of your project. Pin place so until bias tap overlapping the diagonal edged starting point by about 1″.
5- Now stitch straight across top edge stopping at the end of your bias tape. DO NOT stitch into the folded bias tape at the 1st 90-degree corner.
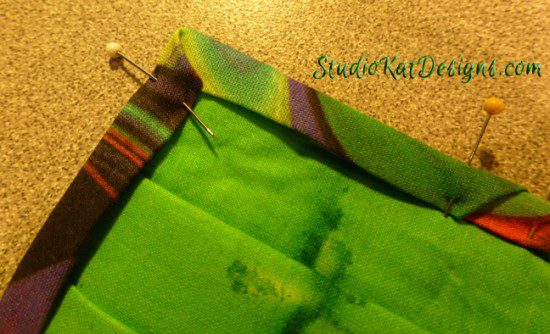
6- Flip unit over and begin flipping bias tape over the raw edges. I like to start at the beginning diagonal edge, pinning it in place so it conceals the stitching, and once this edge is secured in place
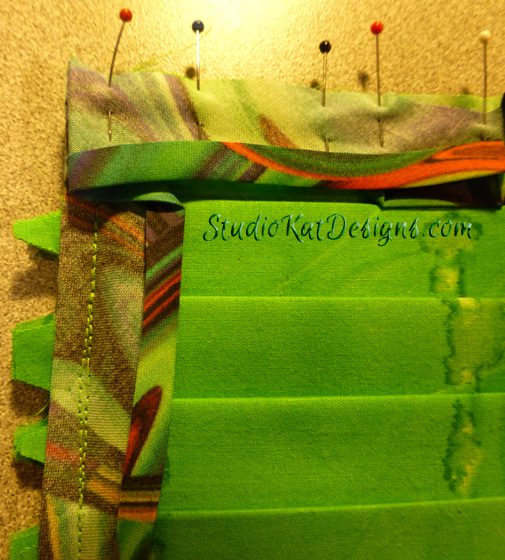
7- It’s a simple matter to just fold the side edge over into a neat mitered corner. Check out the closeup below.
As long as you’ve marked your tick marks EXACTLY 1/4″ from the raw edge and stopped stitching PRECISELY at the tick mark, the mitered edge almost forms itself!
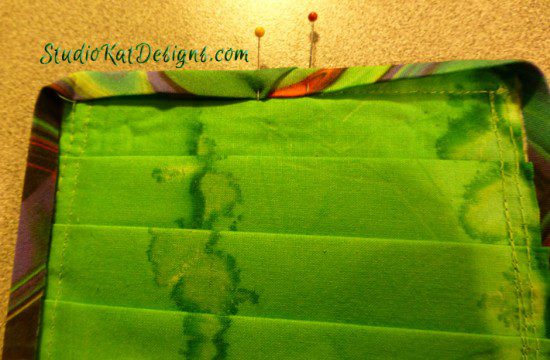
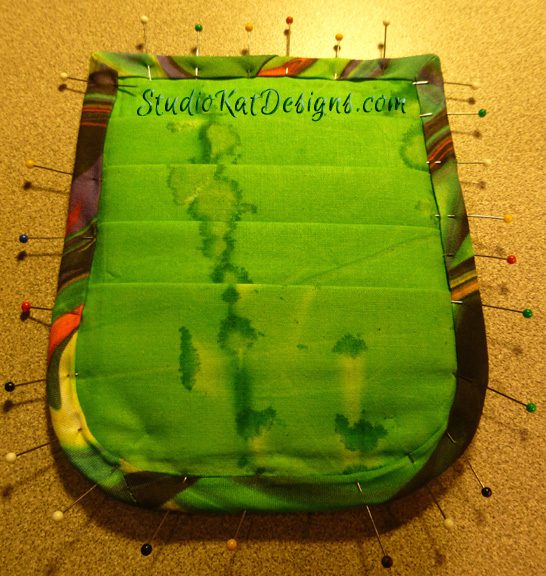
8- Now you can continue pinning your bias tape in place thru the curved areas. There’s quite a bit of layering in this section, so you may find that you have to “roll-out” a bit of your 3/8″-1/2″ pressed fold in order to cover your stitching, but that’s why its there, right?
And here’s the final result… no bumps, no lumps, no ripples and PERFECTLY mitered corners!
And the best part was… It was SO EASY!
And now… it’s YOUR Turn!!
Do yo have any questions about making your own bias tape in general?
And do you think you might be inclined to try making your OWN bias tape
the next time the occasion arises?
Check out the best sewing pins with me on Pinterest, join in on discussions or show off your work in our FaceBook Group, or get your daily sewing fix on our Facebook Business Page or get behind the scenes scoops on Instagram, and be the 1st to know about new patterns, discount codes and sample sales by signing up for our monthly newsletter.