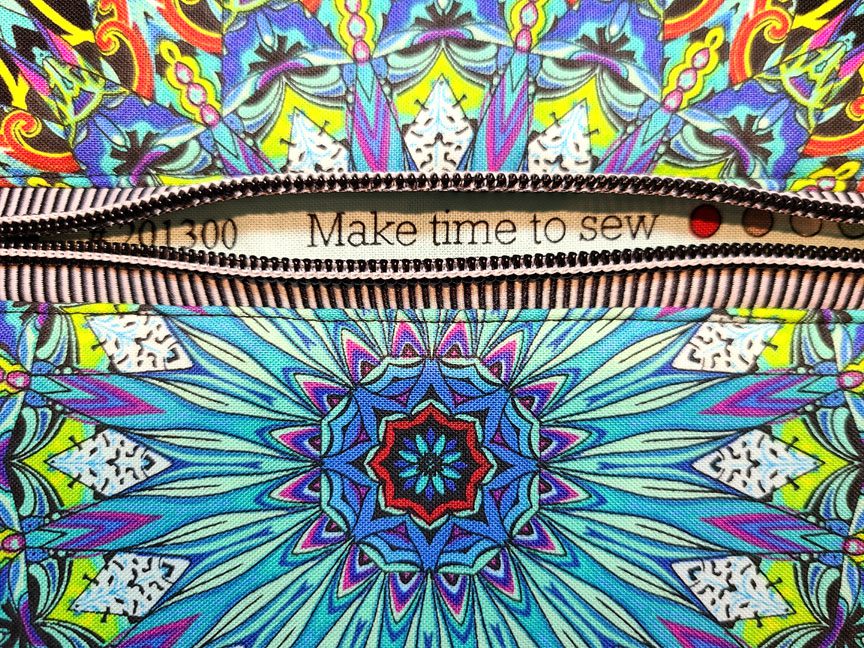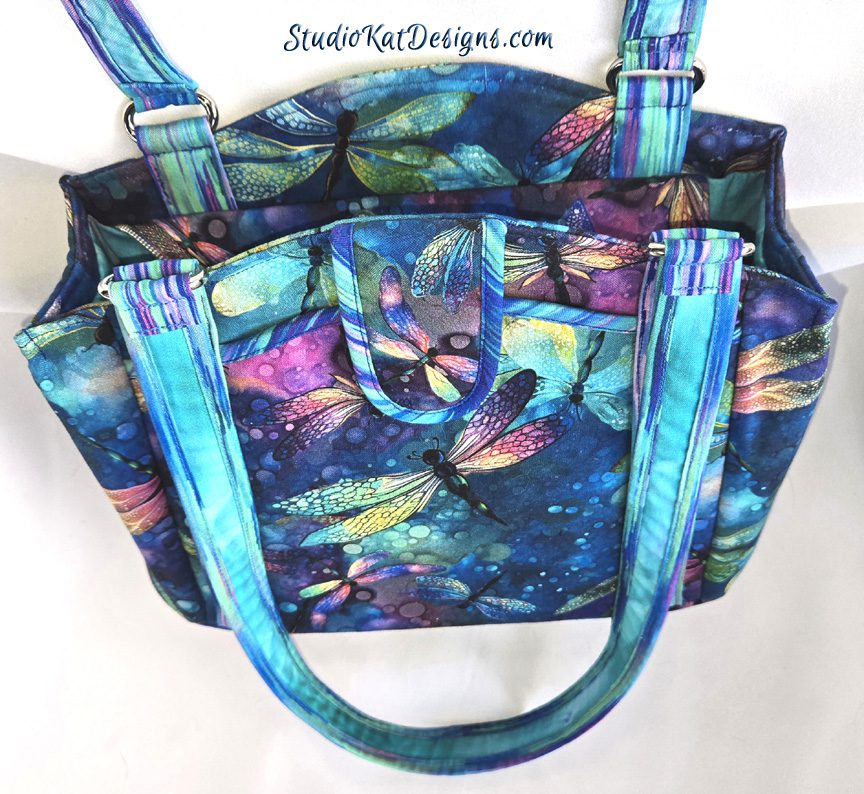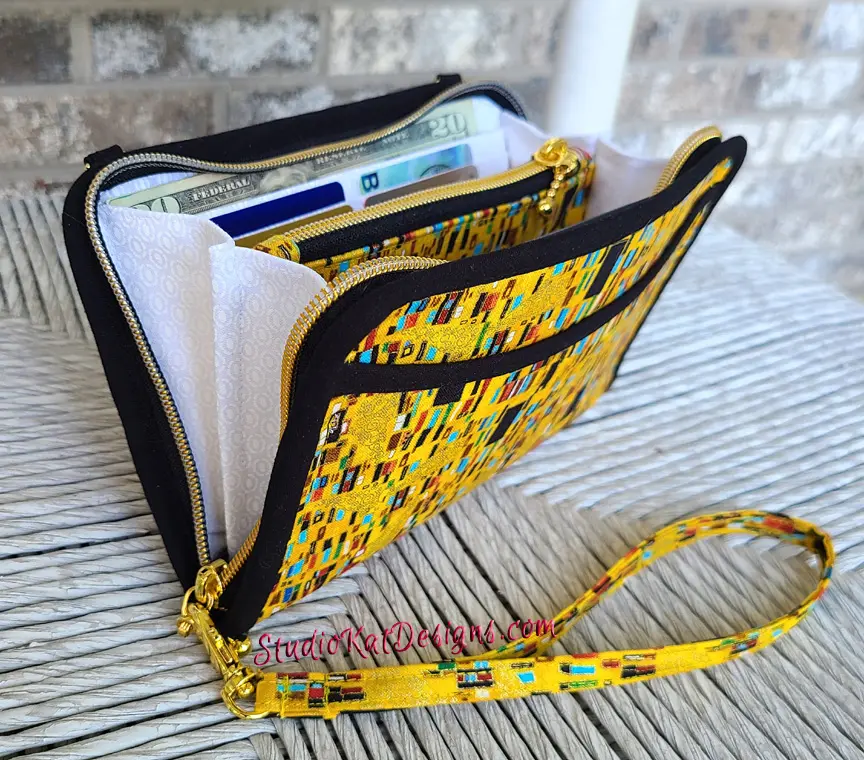


So… if you’ve been around here for any length of time, then you know I love me a good fussy-cutting project and above you’ll see a few of my favorites. But you know what? I know many of you are convinced that it takes special insight and skill to fussy-cut effectively, but here’s the deal… several years ago I gave you EIGHT Key Tips to remember before undertaking your next fussy-cutting projects, trying to convince you that…
It’s really NOT hard!
But today I thought I’d actually SHOW you a few “tricks” I use to make fussy-cutting easier! In order to do this I took some step-pictures of my latest fussy-cutting project! So let’s get started!


Matching the size of the focal print to the project is important to consider of course,
but equally important is ascertaining that the area of the print to be fussy cut will be shown off to maximum advantage.
In the example at left above, it was my preference to utilize that sweet kitty for the bag front of my Bella BiFold, but had I done so, the bias tape border on that flap would’ve cut right across that cat’s beautiful eyes and that would’ve been unfortunate.
I opted instead for using the peacock panel and as you can see in the finished bag (above right), because the placement of the bias tape on the Flap wouldn’t be an issue.


In this case I made a tracing pattern copy of the Bag Front as well as the Flap.
Then, transfer any applicable reference marks from the pattern piece to the fabric itself.
In this case, I transferred the mark indicating the center of the twist lock
to BOTH the Bag Front AND the Flap with a Sharpie marker.


then carefully trace a few “style lines” from the fabric directly onto your Flap in tracing paper (the result of which you can see in the photo at right.
Now I can place this prepared pattern piece onto a SECOND and identical fabric panel, and use these style lines to pin my pattern piece in place so they line up perfectly and just the way they were originally in the photo at left above.


to extend beyond all of the remaining edges of the Flap. So now all that’s left…
is to stitch this piece in place, press the entire area flat then…


with the print in the fabric below, and cut out my Flap! And look how perfect the Flap looks against the Bag Front.
And that wasn’t hard at all, right?
But do remember…

There are other things to consider prior to undertaking a fussy-cutting project!
- There’s generally a good deal of fabric wasted in pretty much any fussy-cutting project you take on, and the leftover fabric remnants are often not large enough to do anything with
- Never lay your pattern pieces “on the fold” for a fussy-cutting project! You REALLY need to be able to see the WHOLE area of fabric under your template to consistently match the print elements!
- Do not take on a fussy-cutting project if you’re in a hurry, tired, hungry or angry. You need to be fully engaged to do this well.
- Know upfront that not all fussy-cutting projects will have a happy ending, but the ones that do are extremely satisfying. I STILL make mistakes. It takes practice to perfect your technique.
- Start out with a project like the one depicted above that only has one or two areas to match then proceed from there.
And now, it’s YOUR turn!
For more details and tips about fussy-cutting, please click HERE! And if you have comments or tips of your own you’d like to share or questions you’d like to ask about fussy-cutting, please feel free to leave either or both in the space provided below.
Check out the best sewing pins with me on Pinterest, join in on discussions or show off your work in our FaceBook Group, or get your daily sewing fix on our Facebook Business Page or get behind the scenes scoops on Instagram, and be the 1st to know about new patterns, discount codes and sample sales by signing up for our monthly newsletter.
.


I bought a light pad to lay my fabric and pattern pieces on so I can see what the placement will look like. Light pads come in different sizes and prices. I also make copies of all my pattern sheets with my printer instead of tracing.
The light pad sounds like a great alternative! Thanks for posting this suggestion! 🙂