So in our last post in this series, I showed you the “Gorilla sample” for this our 15th cycle of Purse Pattern Chronicles, which means I not only carried it everywhere I went for a week or so, but that I was also ROUGH with it.
Did I stomp on it or sling it across the room (like was done in the old Samsonite commercials)? No, but I did try overloading it, and I let it roll off the passenger seat to the floor of the car, and I crushed it under some heavy grocery bags, and guess what? It held up beautifully!
But here’s the thing, even though I was pretty happy with our design at that point, there were a few areas that needed immediate attention. Here’s a few of the most obvious….
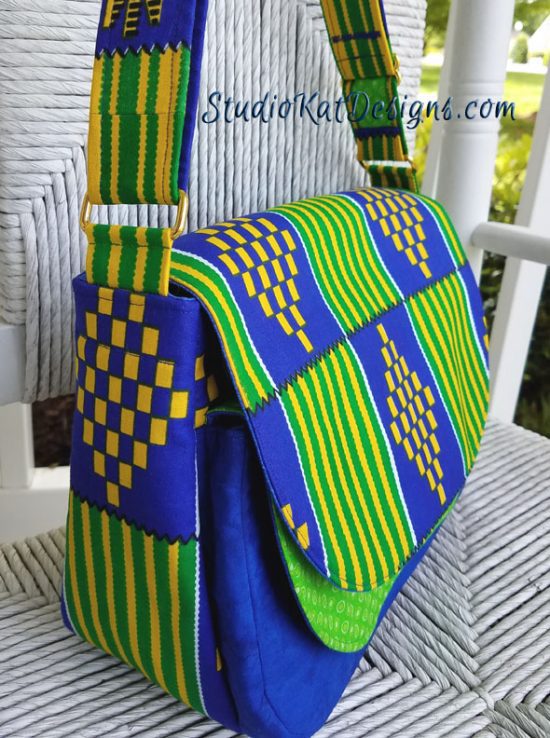
First of all, I switched from using 1.5″ wide D-rings to 1.5″ wide rectangle rings. I like this smooth look much more than the bunched-up look produced by using D-rings. I also switched from using Soft & Stable to fusible fleece inside the two front flaps. The result was less “life” in the flaps, that is to say the flaps lay flatter now against the body of the bag and that’s a good thing.
Additionally, I changed the shape of both the main flap and the Pocket flap in subtle ways. First, I made the Pocket flap longer and then I changed the design of the main flap so that it’s a little wider so that it conceals the top Pocket corners.
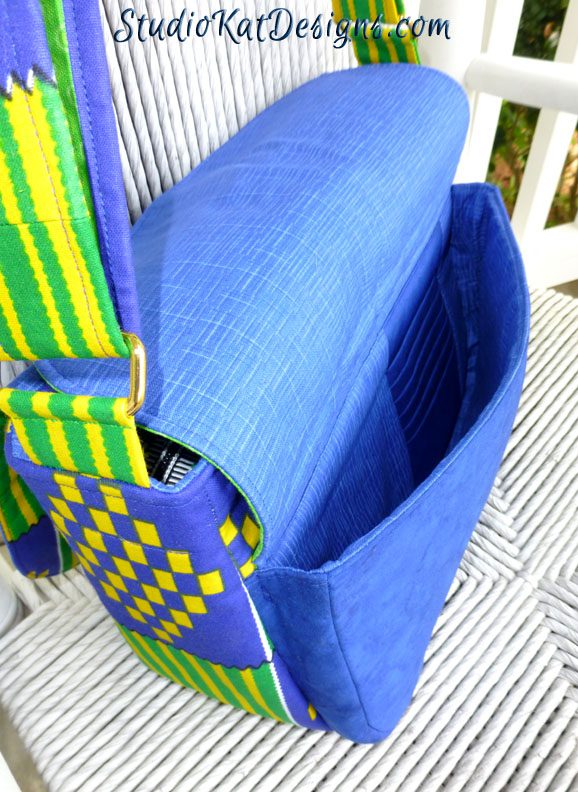
Next, I added a card holder with six slots to the inside wall of the Pocket. But you know what? I like this feature so much, that I think I’ll go ahead and add a DOUBLE row of card holders to my next sample! (Stay tuned for that change in our next update!)
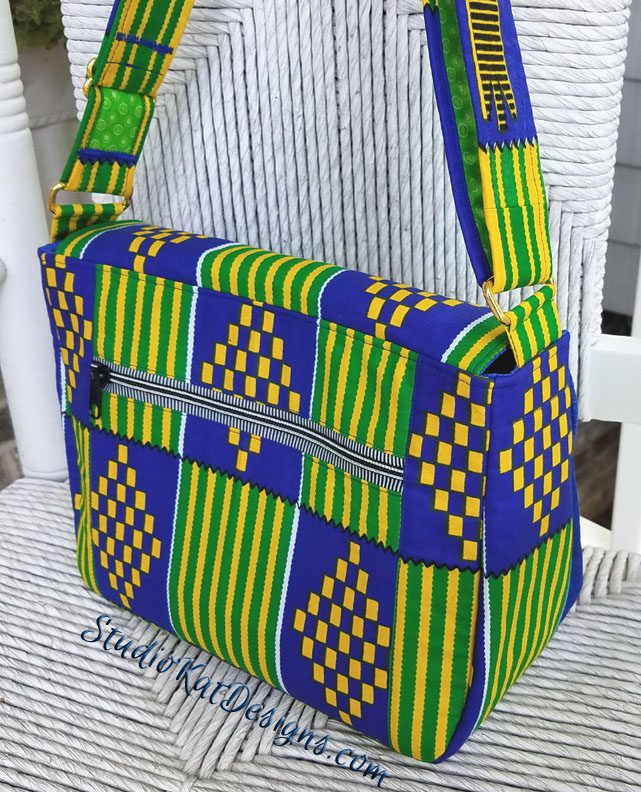
Here’s a good shot of the back of the bag and the zippered exterior pocket. I actually made this pocketed area just a tad less wide this time, in order that our 10″ zippers (our most popular size) would more easily reach from end to end without the metallic zipper boxes becoming involved in the side seams. I hate broken needles, don’t you?
(Bag dimensions= 12″ wide X 9.5″ tall X 4.5″ side width)
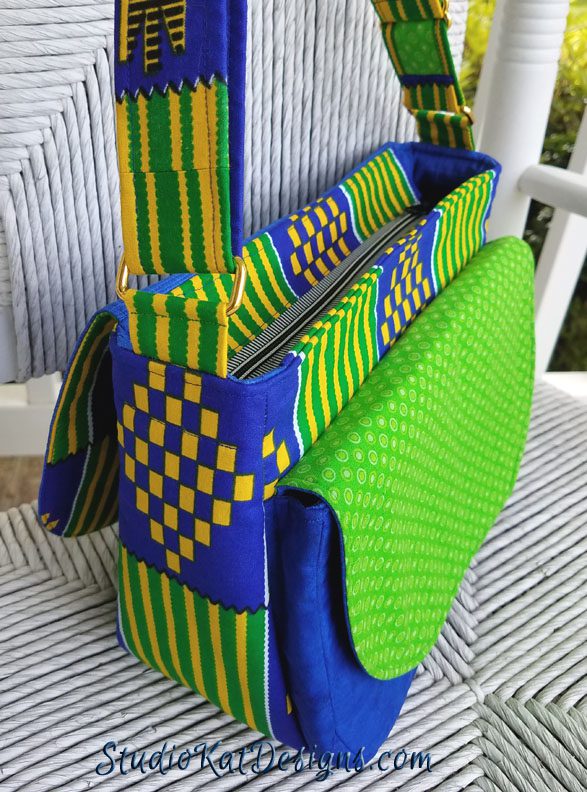
And here’s a good look at the zippered main compartment. And there’s the thing, several of you have mentioned that you wished we would add some sort of twist lock to the bag flap, but I hope you can see from this exposed view of the bag front (sans flap in place) that there is no way to attach the twist lock to the bag area above the Pocket Flap (as it would seriously impact (and NOT in a good way) the drape of the Bag Flap. Furthermore, if the twist lock were attached the the Pocket Flap, it would mean that BOTH the twist lock AND the mag snap within the Pocket Flap would have to be disengaged in order to get inside the Pocket area, (and that would be a total pain).
So there’s the full tour!
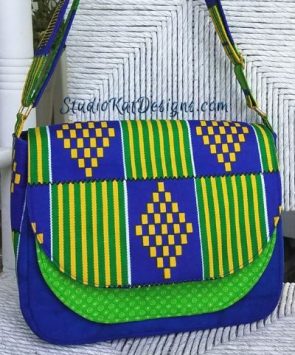
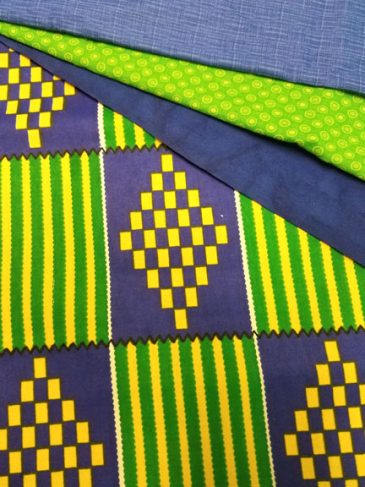
Which means now its time to talk about this fabric, which I actually picked up at the AQS Daytona show from one of our neighbors!
When I saw Grace (of The Maasai International) folding up this fabulous green/blue print from across the aisle and I signaled her to set that aside for me, because the very second I saw it, I knew it would make a stunning bag exterior. (And just so you know… large prints are generally PERFECT for bag exteriors… worth remembering, right?)
And another tidbit worth noting…this particular remnant was a little heavier than typical quilting cottons, but the extra heft had absolutely no negative effect on construction!
********************************************
And now…. it’s YOUR turn!
I’d love to know what you think of our new design at this point in the process? If you have questions or comments we’d be glad to entertain either or both in the space provided below. AND— if any of you have any names you’d like to suggest for this design, I’m all ears!
**********************************************************************************************
Check out the best sewing pins with me on Pinterest, join our Facebook discussions, get your daily sewing fix and behind the scenes scoops on Instagram, and be the 1st to know about new patterns, discount codes and sample sales by signing up for our monthly newsletter.


