So…
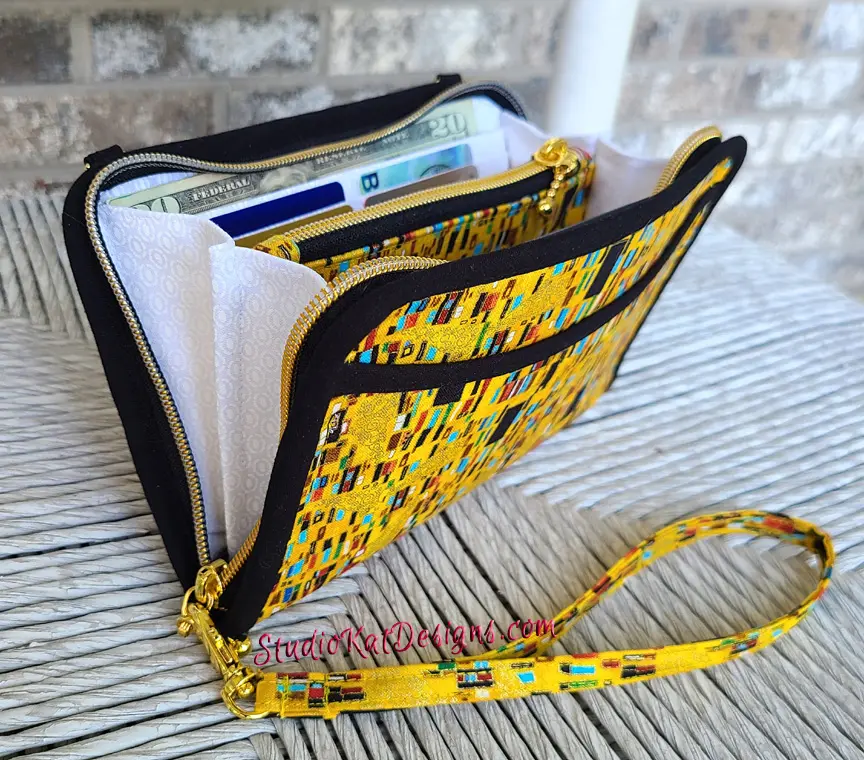
you might remember that early on in the process of designing our new Packlets pattern, I mentioned that it might be a good idea to apply fabric laminate to the lining, particularly if you thought you might use your little pouch to carry makeup or toiletry supplies. My thinking was that the laminated lining would aid in the clean up of incidental spills and leakage and hopefully prevent permanent staining. But it wasn’t long thereafter that I started seeing some of you comment and/or recommend using “PUL” instead of fabric laminate, but here’s the thing…
I had never heard of “PUL”!
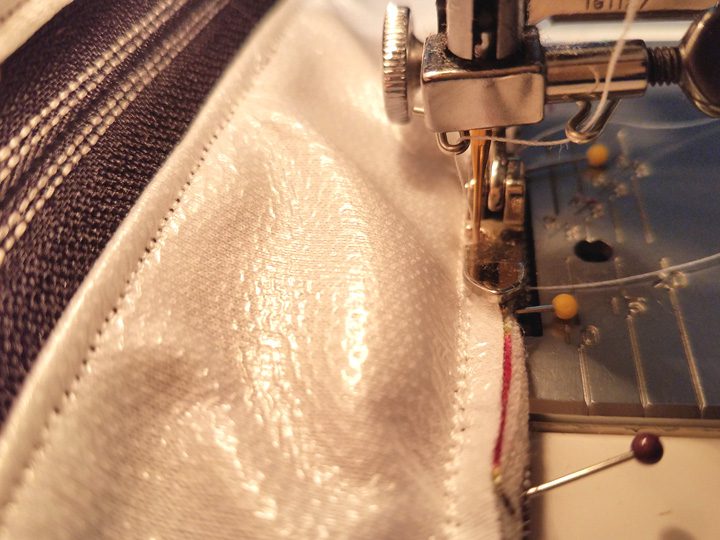
So I did a little research and found that “PUL” (short for polyurethane laminant) is basically water repellent and commonly used for items such as the outer shell of baby pants. So I found some online and when it arrived I was SO surprised to see how fluid and soft it was. My gut reaction was that it would make for a VERY beautiful interior for these little bags. I was cautiously optimistic… but it wan’t long before I realized that my optimism might have been a bit premature!
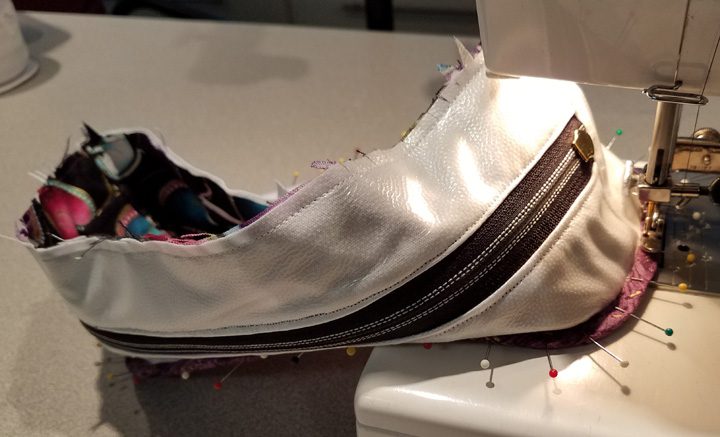
Because first off… its not easy getting pins to go through PUL, but I did like that there was no need to laminate anything to the lining and it cut beautifully without any frayed edges. Once I started sewing up this Packlets sample however is when I realized that this was going to be a struggle, because…
Secondly… it is literally impossible to press PUL, and by that I’m not saying that the heat is the issue, I’m saying that the PUL is SO soft and fluid that it simply will NOT take a press and that’s a problem with a project like this that requires structure (as opposed to the soft drapey nature of baby pants.
Thirdly… it’s difficult to sew on (and that’s being kind). It wasn’t too bad if the PUL was face up on the machine bed, away from the feed dogs, but that is just not possible ALL the time for this project because if the entire interior is to be made from PUL, then obviouslythere’s going to be a LOT of times when the PUL is the upper AND the lower fabric surface and THAT’s when it was very frustrating to work with!
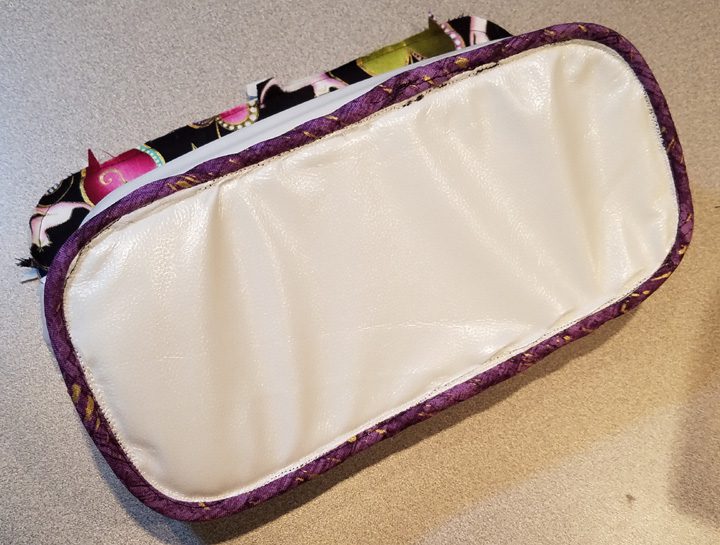
The picture above kind of demonstrates the issues I ran into with this PUL fabric. The surface you see above was the underside of my sewing area, which was constantly shifting around under my stitching area. See how it’s stretched out and how it folded in on itself at the stitching line? I wasn’t happy at ALL with this finish! And believe me I took it slow and continuously adjusted this area to specifically avoid this! And to make matters worse, when it was time to flip that bias tape over those clipped corner edges it was a lot like trying to bias tape wet noodles! Now I know this surface will be on the inside of this Packlet and no one else will probably ever notice this, but do not discount how annoying it was to work with this material. I was glad just to finish this project and have NO intention of trying it again for this design.
So in conclusion…
It should come as no surprise that I will NOT be recommending the use of PUL for the interior of our Packlets! I’m sure it works great for clothing and the like but it’s just not suitable for a structured item such as this! If you’re interested in making your Packlets interior moisture repellent, then my recommendation would be to apply fabric laminate* to your lining. You still have to a bit careful with your pins and it’s not particularly forgiving in the event that you have to rip out a seam, but its easy to sew on and produces a clean professional finish!
*(I used Slicker Glossy Iron-On Vinyl from Sew Lazy by Lazy Girl Designs, but there’s probably other similar products on the market that would also work well. From past experience, I find the glossy varieties easier to work with that the matte laminates.)
*********************************************************************************************
And now…. it’s YOUR turn!
I’d love to know if you’ve had any experience with PUL or fabric laminates, and if so, perhaps you’d like to share your experience. And remember, we love reading your comments and answering your questions too, so please feel free to leave either or both in the space provided below.
**********************************************************************************
Check out the best sewing pins with me on Pinterest, join in on discussions or show off your work in our FaceBook Group, or get your daily sewing fix on our Facebook Business Page or get behind the scenes scoops on Instagram, and be the 1st to know about new patterns, discount codes and sample sales by signing up for our monthly newsletter.


