So…
in an earlier post, I showed you how to cover a plain nylon strap with fabric so that it coordinates perfectly with the bag you’re carrying… because life’s too short to carry around a boring black or navy bag strap, right?
And at the conclusion of that post, I told you that for our next post in this series, we’d show you how to cover your strap in TWO coordinating colors! So, let’s get started!
Step 1– Cut the contrasting liner fabric– Your fabric strip needs to be the same length as the strap you’re covering. (Since bag straps are very often longer than 42″, you may need to cut two strips and stitch them together to get the length you need.)
For the width, I generally cut my fabric strip(s) ~1/8″ less than the width of my webbing. For example, if my webbing is 1″ wide, then I cut my fabric 7/8″ wide.
Step 2- Cut the strap exterior fabric– The length of this fabric strip needs to be at least 5 inches LONGER than your webbing (so that it can be wrapped around your snap hook ring). Once again, it’s likely that you’ll need to cut two strips of fabric and sew them together to get the length you’ll need for your strap. The width of your fabric should be the width of your webbing PLUS 1 inch.
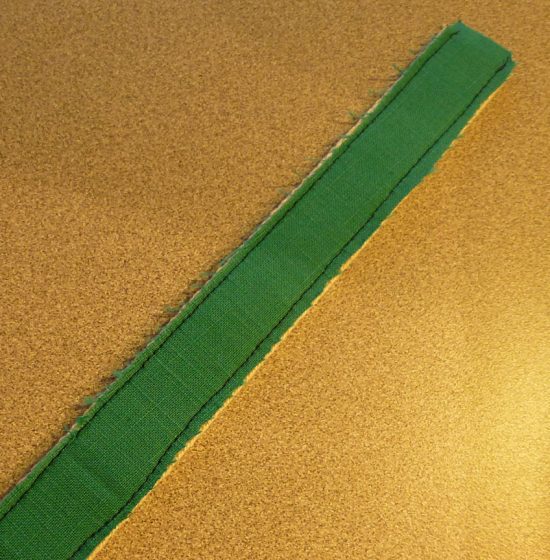
Step 3- Stitch contrasting Liner in place– Place your cut strip wrong side down on webbing and stitch it in place close to both edges.
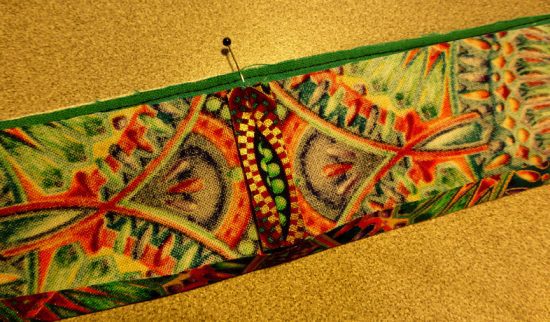
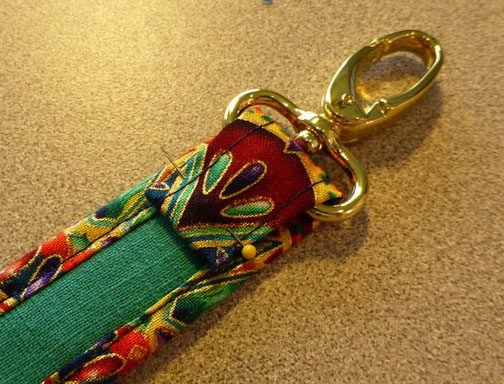
Step 4- Prepare your Wrapper- Stitch your 2 fabric lengths together combining two short edges (right sides together). Press seam open and flat. Next, press over 1/4″ (wrong side together) on one long edge. Now place your Wrapper right side DOWN onto strap liner aligning the seam with the midpoint of your webbing (previously marked with a pin as shown above). Now align the Wrapper edge with the webbing edge and stitch it in place 1/4″ from edges. (FYI- I have not shown the Wrapper edge aligned with the webbing edge in the photo above so you could see the contrasting liner underneath, but it was in fact aligned correctly before I stitched in place.)
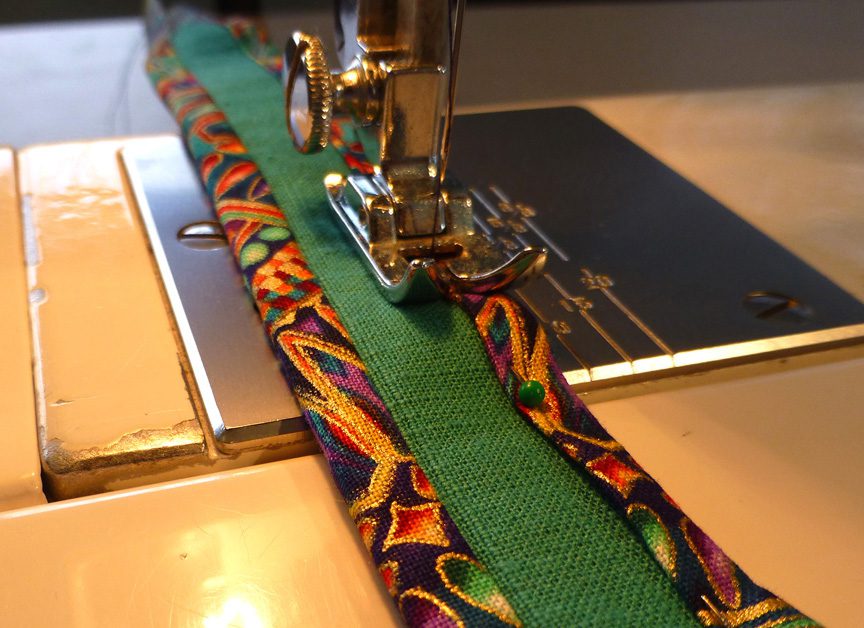
Step 5- Stitch Wrapper in place on opposite side of Webbing– Press Wrapper AWAY from webbing and Liner (right side UP), then “wrap” it around the underside of webbing, so that the pre-pressed 1/4″ hem can be placed on top of liner on opposite side. Pin it in place, concealing remaining raw edge of Liner then topstitch close to BOTH Wrapper edges down the entire length of strap.
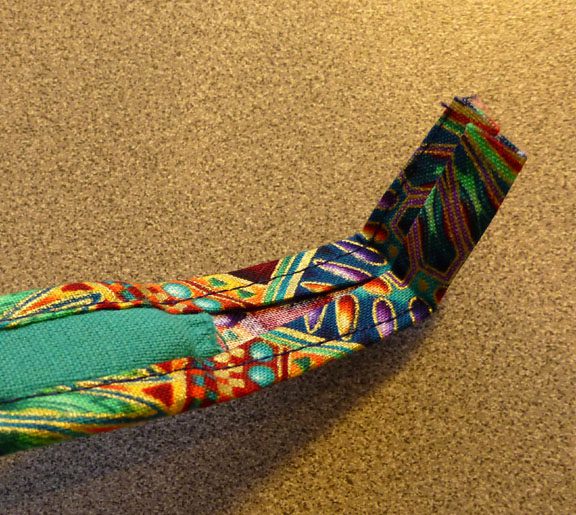
Step 6- Prepare to add strap hardware– You should have at least 2 1/2″ of Wrapper extending beyond the cut edge of your webbing. Press at least 1″ of this extension over (wrong sides together).
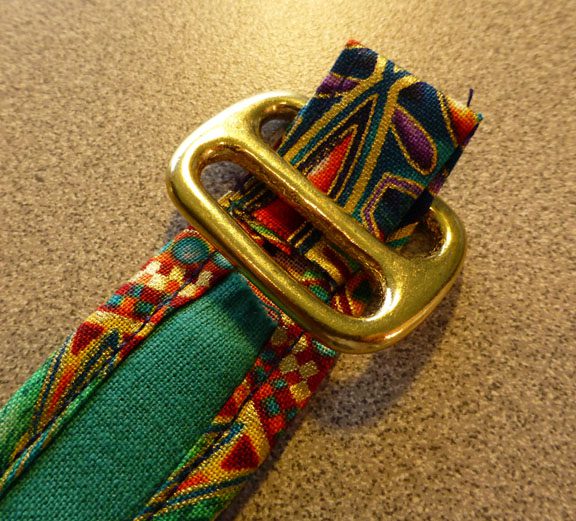
Step 7- Add a slide buckle in order to make your strap adjustable. Slide that pressed over strap end into one opening of your slide buckle, then….
Step 8- Loop that folded end thru the other slide buckle opening pinning it onto the liner side of your strap. Stitch folded end in place as close as possible to one slide buckle edge (within the fabric fold), then topstitch again close to folded-under fabric end.
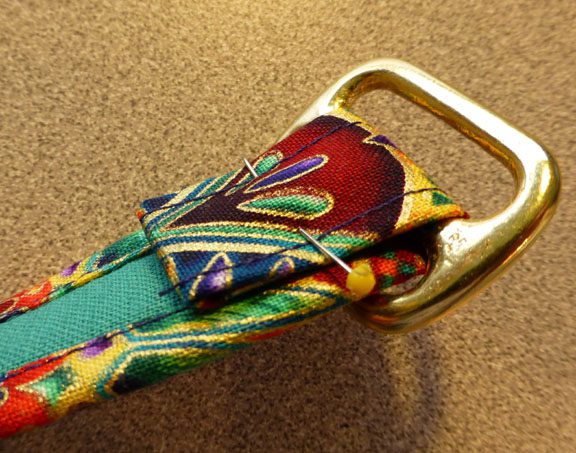
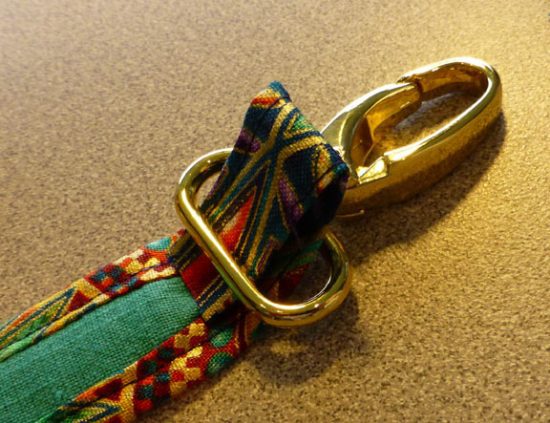
Step 9- Add a Snap Hook– Slide remaining free Strap end thru the opening of one of your Snap hooks.

Step 10- Loop Strap end thru Slide Buckle– Loop Strap end back through the closest opening of the Slide Buckle, then…
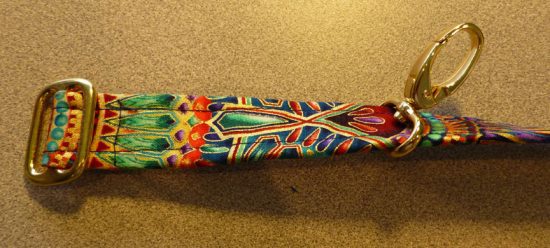
Step 11- Push the Strap end thru the other Slide Buckle opening.
Step 12- Press remaining Strap end back at least 1″. Loop pressed Strap end thru your 2nd Snap hook.
Step 13- Pin Strap end in place on Liner side of Strap. Stitch in place as close as possible to Snap Hook ring (within the fabric fold) and then topstitch close to folded-under Strap end.
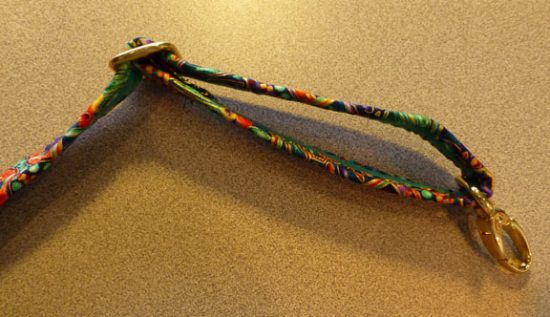
And there you have it!
Your adjustable Strap is covered and ready to use! I hope you find this to be an easy and fun way to add a polished and professional look to your handbag project. And remember, we love reading your comments and answering your questions too, so please feel free to leave them in the space provided below.
**********************************************************************************
Check out the best sewing pins with me on Pinterest, join in on discussions or show off your work in our FaceBook Group, or get your daily sewing fix on our Facebook Business Page or get behind the scenes scoops on Instagram, and be the 1st to know about new patterns, discount codes and sample sales by signing up for our monthly newsletter.
Join Our Mailing List!
Click button below to get 15% off your 1st pattern!


