So…
one of my favorite fabrics to use for a bag accent area lately… is pleather. I like the texture and excitement that it adds to a project, PLUS I find it to be remarkably resilient under all types of usage.
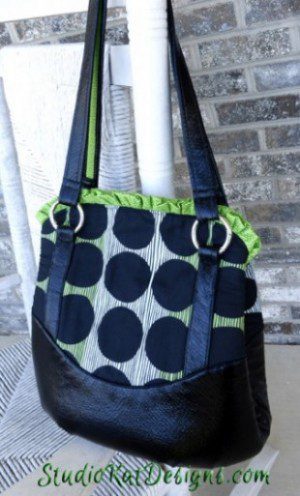
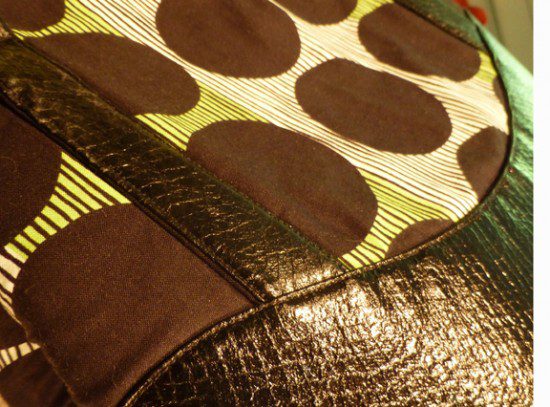
But here’s the thing, I find that MANY people are really loathe to even try use this product, even though the pleather products being produced today are MUCH easier to use than those that were on the market even 5 years ago! And this is a shame because look how the addition of pleather elevated the bag at left to a whole ‘nother level!
So just in case you’ve been living in a bubble for the past few years, let’s go over the basics…
Pleather is short for plastic (or synthetic) leather and its available in a variety of weights and forms nowadays (such as suede and snakeskin), and what’s more— synthetic leather is much more economical than leather! But I guess it’s no secret that sewing with pleather can be a tad tricky. That’s why I’ve worked up a few tips to make the experience a positive one for you!

1) Know Your Pleather– First and foremost, I recommend that you carefully choose your pleather with your particular project in mind. There can be a huge variation in thickness and pliability when it comes to pleather so it’s important to touch and manipulate the product you’re considering to ascertain that it’s suitable for what you have in mind. If you’re making bags for example, stiff pleathers can cause bulk issues in the seams and tight corners and should be avoided.
2) Test Your Pleather– Some pleathers are really easy to work with requiring little or no special equipment or considerations. It’s entirely possible however that you’ll need to switch to a leather needle or a teflon foot to get you material to feed correctly. The best way to find this our is to do a little test stitching prior to beginning your project. I recommend setting aside a small remnant of your pleather for this purpose (~8″ X 8″ ought to do it) to play around with a bit. If you find that your pleather is bunching or puckering up a bit as you stitch, then you may want to lengthen your stitches. It’s also important to know if you’ll be able to stitch on both the right and the wrong side of the fabric (which will determine if you’ll be able to topstitch on it.)
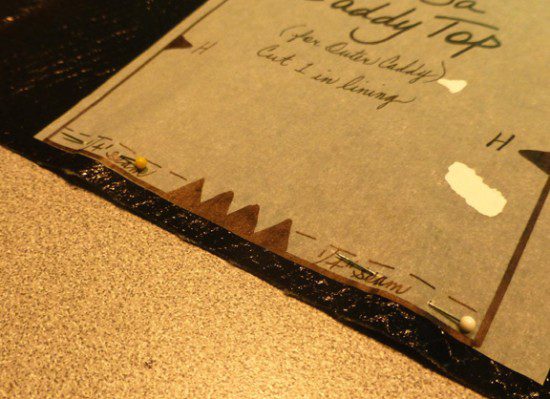
3) Avoid Pinholes– Because pleather is a synthetic, non-fibrous product, it can be a bit unforgiving when it comes to pinholes. For this reason I generally try to do my pinning out in the seam allowances where the pinholes won’t show on the outside of the bag.
To avoid pinholes during various construction steps, I’ve been known to substitute paper clips for pins and every now and then I’ll even use tape (although that’s never my first choice).
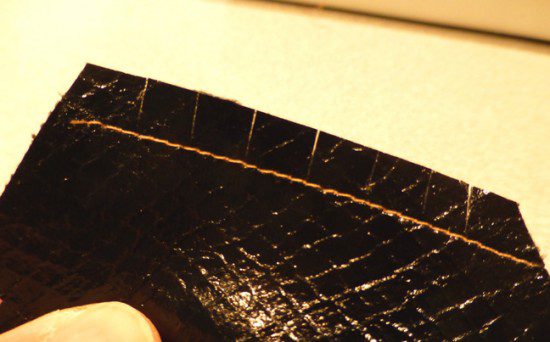
4) Clip the curves– Pleather has no “give” (or stretch) to it at all. You may at times find that you need to clip the edges a bit to be able to ease your pleather into place. If so, I recommend first applying a stay-stitching line just a tad bit less wide than your full seam allowance so that your clips aren’t too deep.
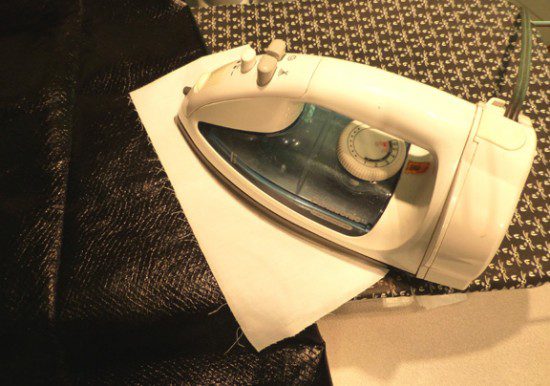
5) Use a Cool, Dry Iron and a Pressing Cloth– It’s possible to press pleather but ALWAYS cool your iron down (to the synthetic range), don’t use steam and just to be safe, utilize a pressing cloth. There’s not too many things more heartbreaking than scorching your pleather when your 3 steps from the completion of your project (don’t ask me how I know this).
6) Topstitch Your Seams– I generally employ the use of a Clapper as I press (more on this in a future post) and it can be especially helpful when pressing pleather but even so, pleather dones’t usually lay flat after pressing. For a nice, crisp finish, I like to topstitch the seams to keep them flat. This is even (or especially) true for side seams, in which case I usually try to stitch down BOTH sides of the seam for that professional look.
So there you have it!
If you keep these tips in mind, I think you’ll find that pleather can be very enjoyable to work with.
And now…. it’s YOUR turn!
Do you have much experience working with Pleather? And if so, might you have a suggestion or two that wasn’t covered in this post? If so, please feel free to leave any comments questions you might have in the space provided below.
***********************************************************
Check out the best sewing pins with me on Pinterest, join our Facebook discussions, get your daily sewing fix and behind the scenes scoops on Instagram, and be the 1st to know about new patterns, discount codes and sample sales by signing up for our monthly newsletter.
1 Comment
Join Our Mailing List!
Click button below to get 15% off your 1st pattern!


Hi Kat, thank you so much for your great tips and that you share with us, that you made mistakes too.
I used pleather in the pieces that hold the D rings. I used it together with webbing and in the end I tried to sew 8 layers of pleather plus 2 layers of webbing – that was the moment my sewing machine had enough strength – but the needle didn’t. In the end I made it without the webbing and it was just fine. Do you have rule of thumbs when it comes to use any types of stabilizer when you use pleather in stead of a cotton fabric? Do you leave the stabilizer away or just use one that isn’t as strong?
Best Regards