So…
over the past 10 years we’ve received LOTS of handbag photos from our customers and we LOVE looking at each and every one of them… many of which are ultimately entered in our monthly “Handbag of the Month” contest. But you know what? Even though almost all of the bags pictured in the photos we receive are beautiful… some of them were not photographed particularly well. A few years ago we devoted a post to make a well-composed photo of a small project. You can read it HERE, but in the meantime we continue to receive pictures of beautiful bags photographed badly. 🙂
With that in mind, here’s a list of the most common photo mistakes we see. The first two can be avoided by just taking the time to stage your photo better, while the last can be helped with a little help from PhotoShop.
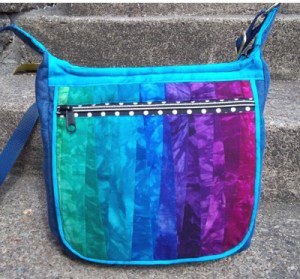
1- A Poor Choice of Background– choosing a busy and/or distracting background is a very common error. My advice? Take a moment to look at your subject objectively against the background you’ve chosen. Your background should NOT compete with your project and there should be a clear separation between your entire project and your background. You might be surprised at how bags we’ve seen placed against a dark floral couch. It’s almost never a good combination!
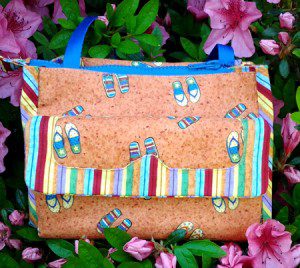
2- Poor Composition– your project should fill the picture and there should be no other items visible that would divert attention away from your subject. The solution? Simple… Either remove all extraneous objects out of range of your camera or move your subject to a different location.

3- Exposure Errors– We’ve all shot dark underexposed photos at one time or another. Whether its because of the lighting, weather conditions, window placements or a malfunctioning flash, such photos are unfortunately common. Luckily, Photoshop provides you with amazing abilities when correcting photos like these. So don’t throw those dark underexposed images away! Let me show you a quick and easy way for you to “save” them from the recycle bin!


The photo above at left is the original image I’ll be using for our example. It was taken late in the evening and the auto exposure on the digital camera was obviously “thrown off” be a low sunset over my left shoulder, but because I loved the look on my sweet grandbaby’s face I wanted to do what I could to save this picture. Is the result perfect? No… it’s still a little grainy, but it’s at least restored to a usable state, which makes me happy.
And here’s how I did it…
The program I’ll be using in this example is Adobe Photoshop (the free student version), but you know what? Most any photo-editing software will provide you with the two basic tools you need to accomplish this fix.
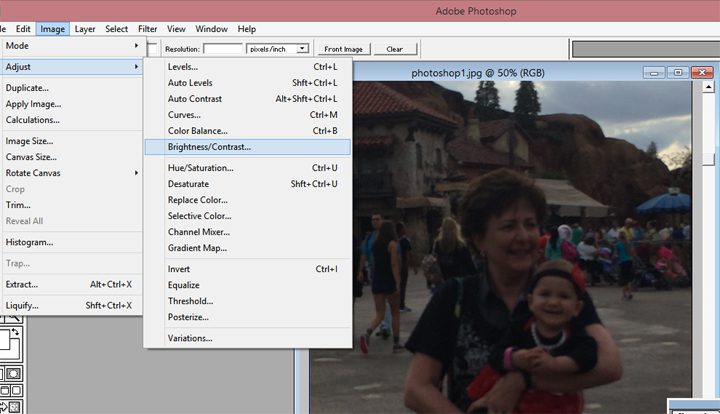
Our objective here, is to lighten the photo AND increase the contrast. First, let’s brighten it by clicking first on “Image”… then “Adjust”… then “Brightness/Contrast”… then
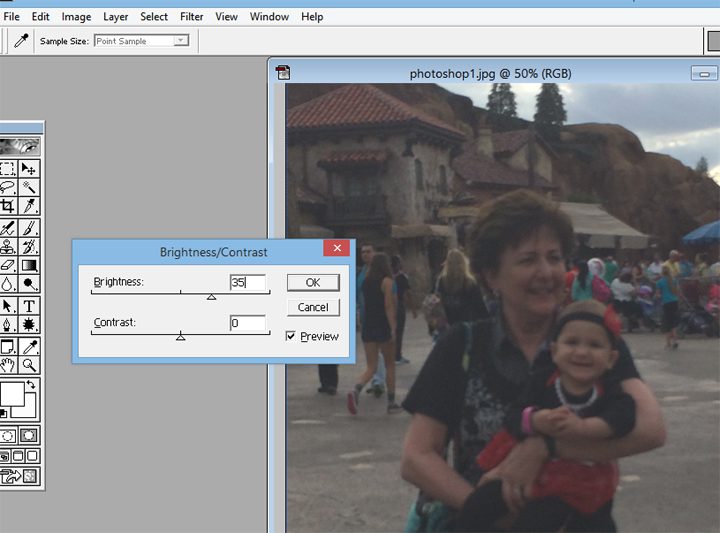
You can use either the slider to increase (or decrease) the brightness, or you can type a number into the box. How much is up to you. I usually try several values and see which I like best, “35” seemed good to me.
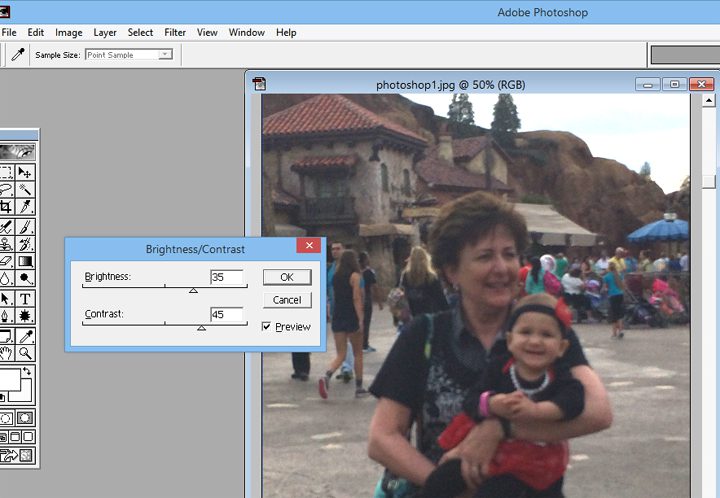
Next, adjust the contrast which as you can see is located right below the brightness. Once you’ve adjusted the contrast you might want to go back and try increasing and decreasing the brightness to see what effect you like best. Do this as many times as required in order to achieve the balance you like the best, then “File/Save your new look.
So what do you think?
Pretty easy, right? I guarantee that if you pay attention to these three areas… background, composition and exposure, you’ll see a big improvement in your digital photography! So… feel free to leave any questions or comments in the space provided below and we’ll do our level best to answer them!
*********************************************************
Check out the best sewing pins with me on Pinterest, join our Facebook discussions, get your daily sewing fix and behind the scenes scoops on Instagram, and be the 1st to know about new patterns, discount codes and sample sales by signing up for our monthly newsletter.
Join Our Mailing List!
Click button below to get 15% off your 1st pattern!


