So…
when was the last time someone gave you a suggestion that made so much sense and made life so much easier that all you could say in response was….
EUREKA!!
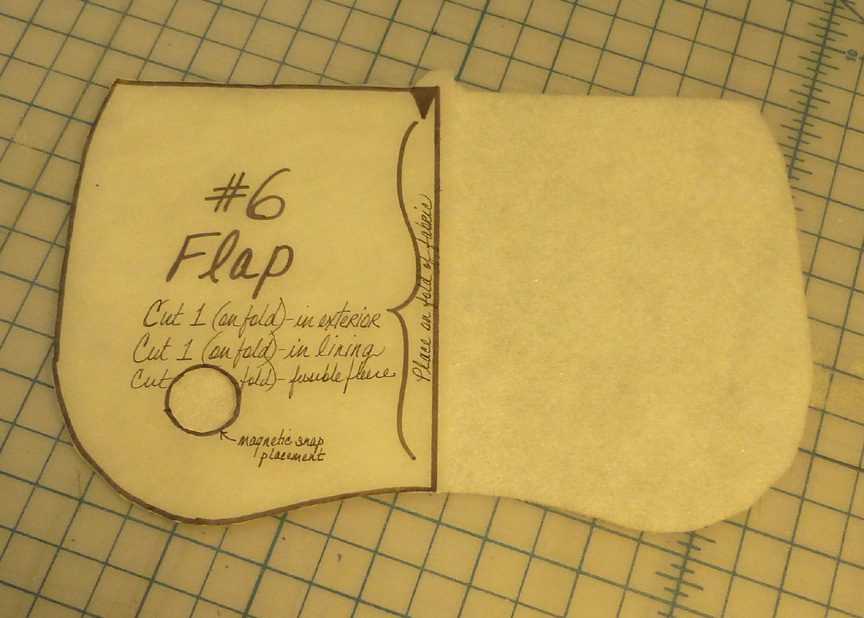
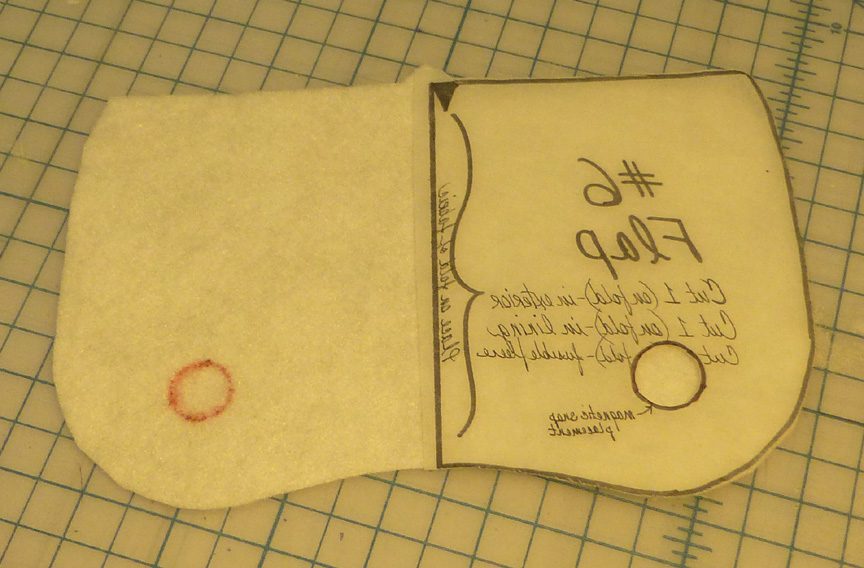
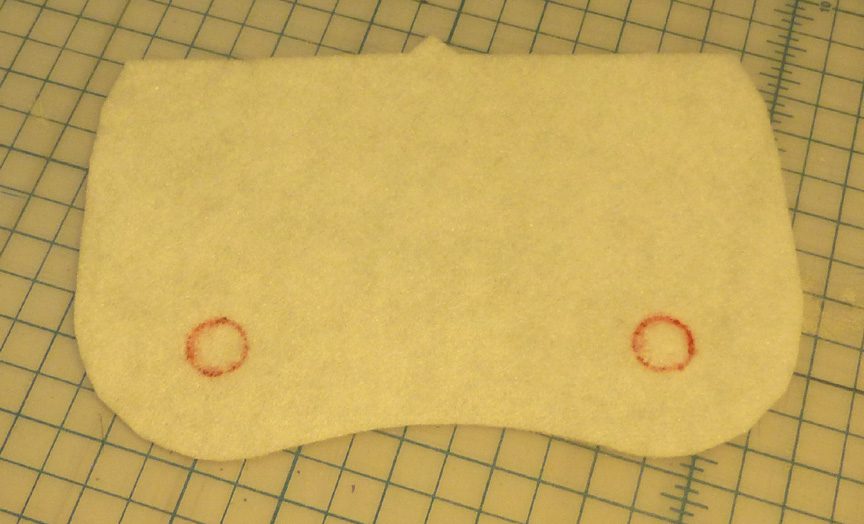
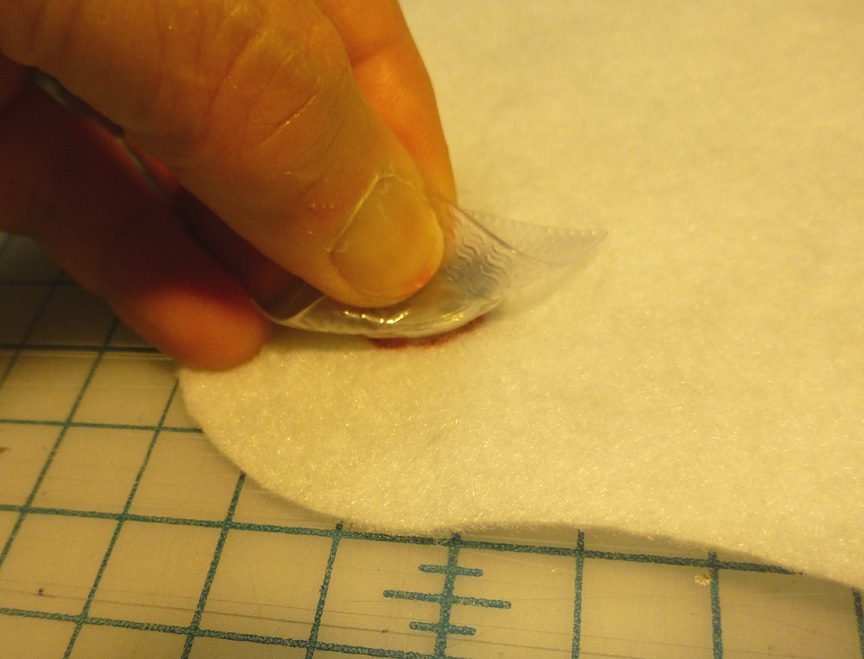
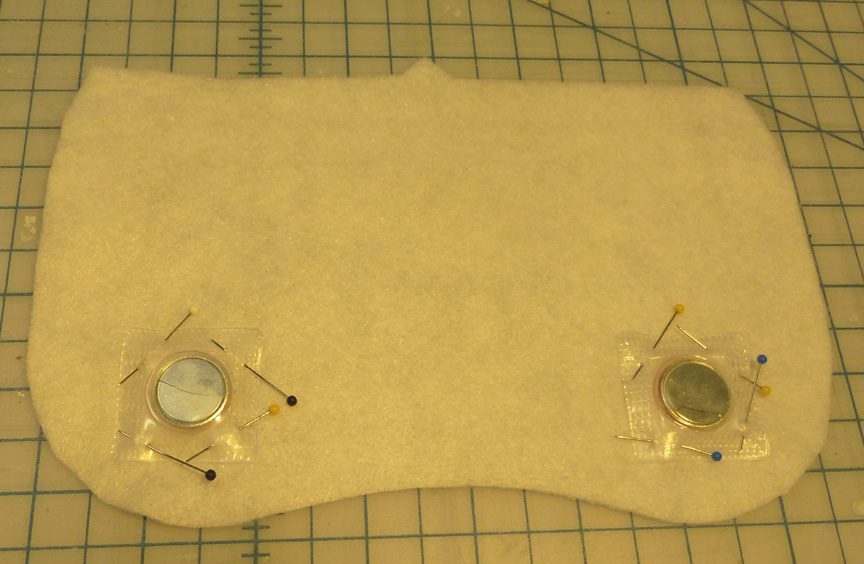
Well, in my case, I can tell you EXACTLY when that happened! It was last week! That was when when I got the testing report from Lori Gates of West Henrietta, NY (one of our long-time pattern testers). As it turns out, during the testing round for the Cosmo Convertible, Lori figured out a MUCH easier and quicker way of placing our sew-in magnetic snaps in the correct spot for attachment. I could have just included it in the pattern instructions for the new design, but I’m thinking the rest of you who might be using our magnetic snaps in the Baggalista, the Uptown Saddlebag or the Guardian might want to try this method there as well, so I’m going to upload it here, and will reference this URL for the instructions from now on so we can ALL enjoy this new method!
So here goes….

So…thanks Lori!
This was a GREAT idea and now it’s YOUR turn!
Do you think this is a installation method you might try out yourself?
And if you liked Lori’s idea, don’t forget to leave her a little love in the comments space provided below!
***********************************************************************
Check out the best sewing pins with me on Pinterest, join in on discussions or show off your work in our FaceBook Group, or get your daily sewing fix on our Facebook Business Page or get behind the scenes scoops on Instagram, and be the 1st to know about new patterns, discount codes and sample sales by signing up for our monthly newsletter.
Join Our Mailing List!
Click button below to get 15% off your 1st pattern!


