
So… in our last post in this series, I detailed in a video, how this fabric at left, (“Poppy Dreams” by Chong-A Hwang for Timeless Treasures), which I found online, just wasn’t going to work out as is for our new bag design.
Given the “vertical” nature of this fabric, I thought it would be perfect….
And it almost was…
But instead of giving up on my idea, I was thinking maybe I could alter, or “re-invent” this fabric
so it COULD work for this bag? And as promised… here’s how that process went.
SPOILER ALERT! – It was frustrating!

I decided to “cut away” most of the striped section of the fabric on either side of larger poppy section. The small amount you can see left (in red), on either side of this panel will easily fall within the upcoming 1/4″ seam.
(So I guess the obvious question is… why not just add a cotton fabric in black to this area? And the answer is… not all black fabrics are the same shade, or the same finish, and for this reason, this difference would be very obvious and unattractive on the Bag Front. Just check out the black fabrics in your stash & you’ll see what I mean.)

Likewise, I “cut away” most of the striped section of the fabric on the side of smaller poppy section. The small amount you can see (in yellow) left on the side of the panel closest to the larger poppy section, will also fall within the upcoming 1/4″ seam.

And what you see now, at left, is how this “new fabricated” panel looks after the two thinner panels were stitched to the wider & larger panel.

And in this shot, you can see that the pattern piece for the “Bag Front” can now be cut out so that NONE of the striped sections will be visible, and that was my goal!
Yippee! The 1st of my goals was accomplished!
So now all I have to do, is decide on what to do with the bag side areas!
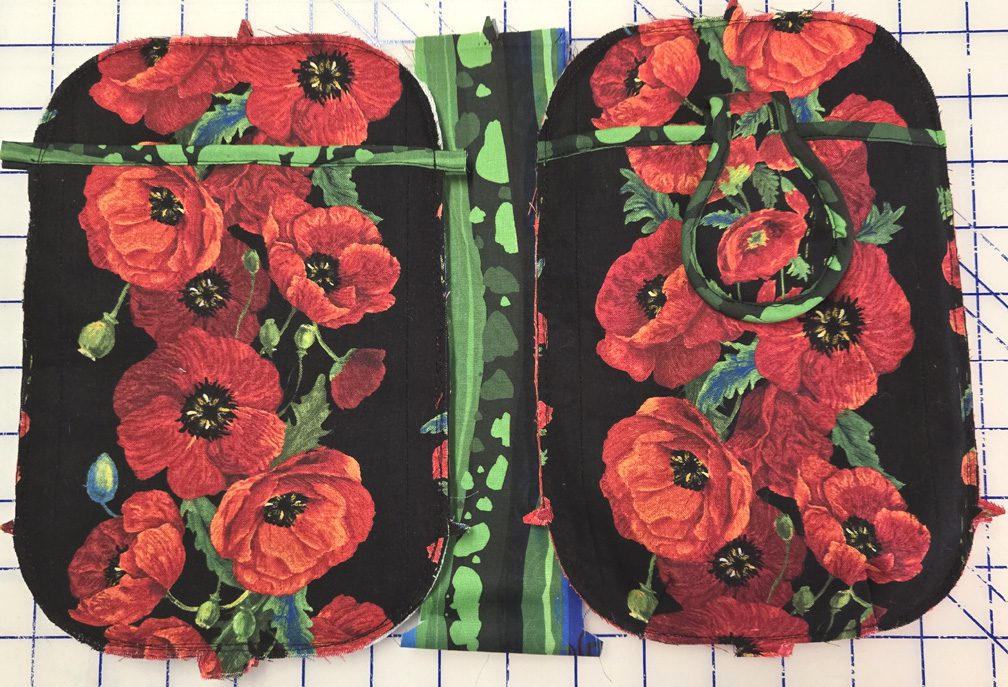
So… my original plan was to use this green fabric as the side panels, but now that is see it lined up next to the final Bag Back & Front look, I’m thinking that maybe it looks a little too “Christmasy”?!?
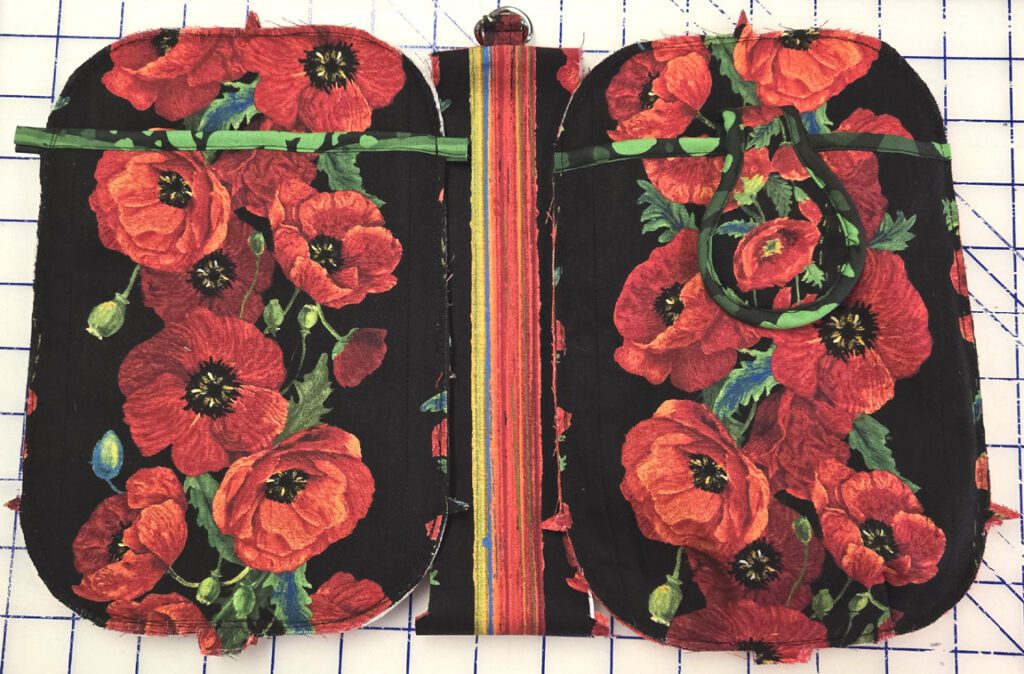
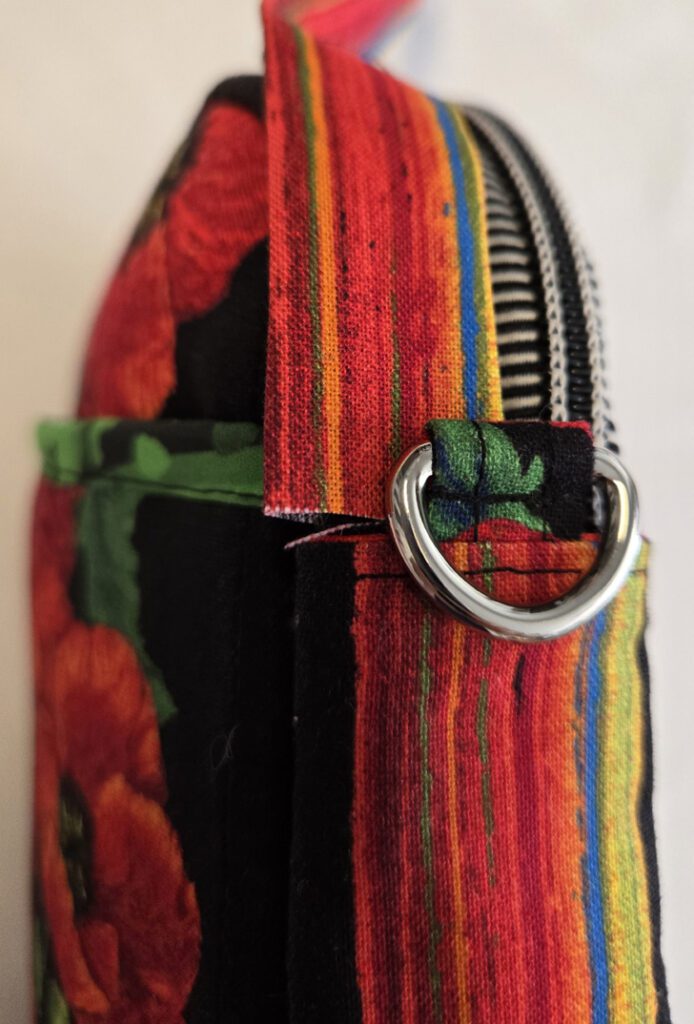
And since now, I don’t have to worry about the stripes being on the Bag Front anymore, I’m thinking the stripes look pretty great just being on the side walls of this Bag!
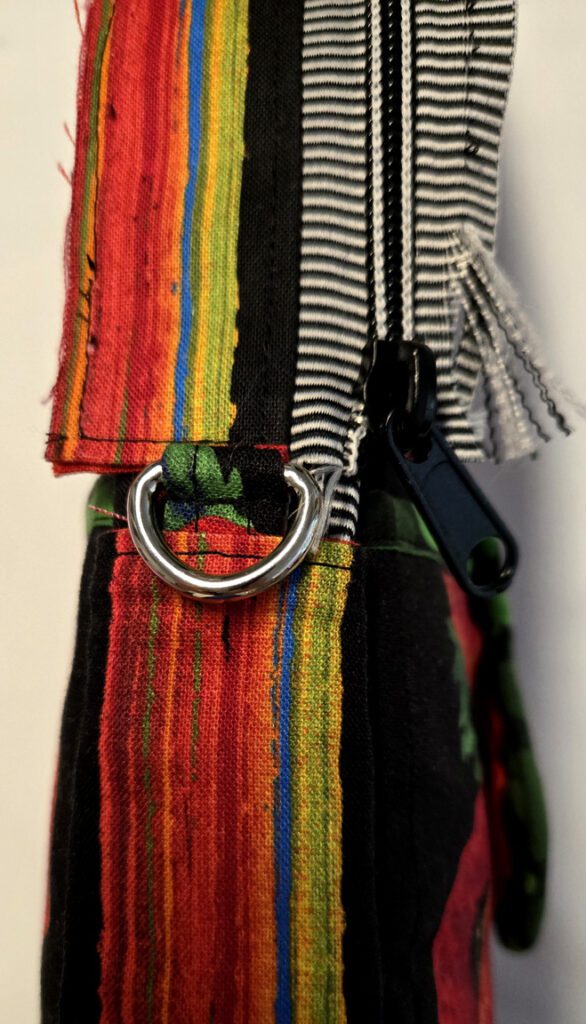
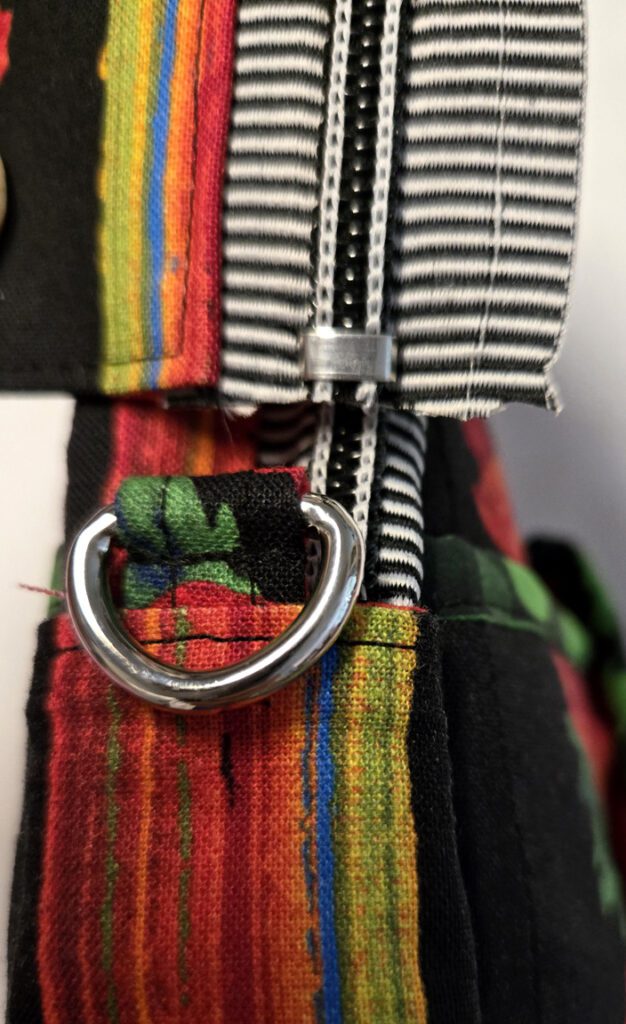
But what I did not consider, is the assymmetrical nature of this striped section, (that is, the left hand side of the stripe looks completely different than the right side.)
And that’s where the REAL trouble started!
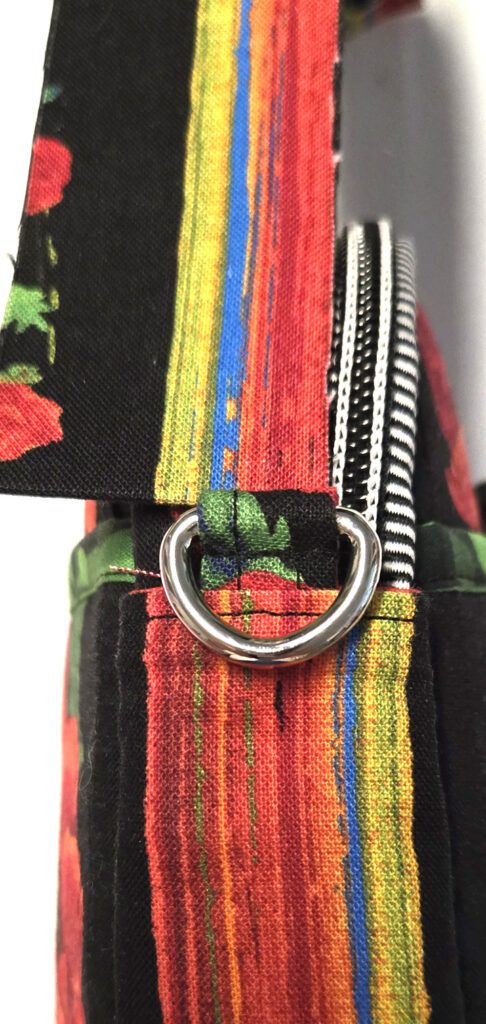
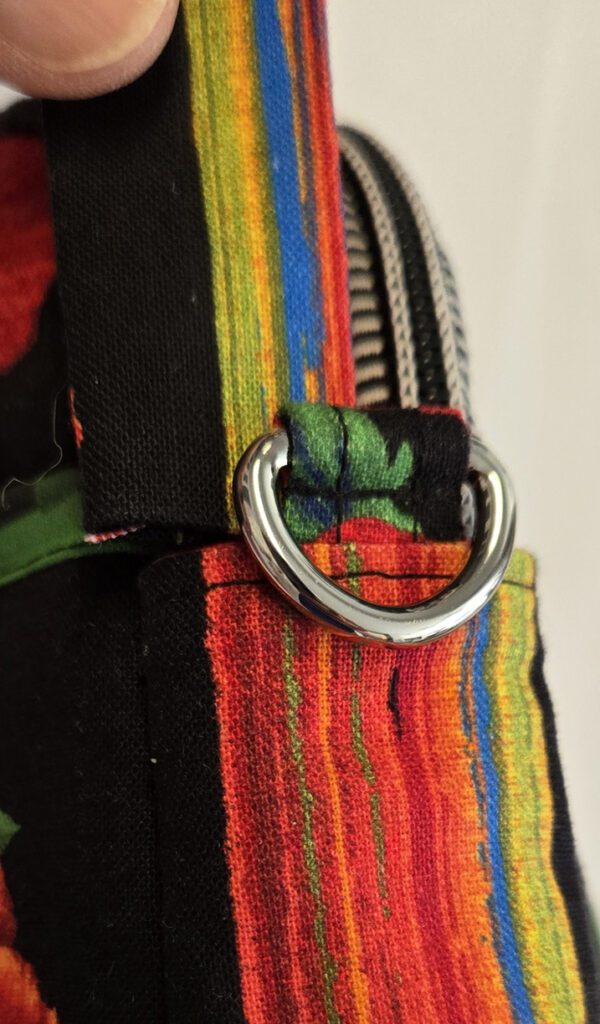
But in order to explain the dilemma, let me begin by showing you the final successful look at left, (which only came about after FIVE dismal failures!)
As you can see in the photo at left, the upper Zip Panel is ALSO asymmetrical because there’s a zipper located on only ONE side of the zipper panel, rather than being centered in the middle, and that only served to further complicate the trying to match up the striped with the Wall below it.
Now that I’m looking at this picture, I’m thinking it SHOULD’VE been easy, but here’s the deal… sometimes fussy cutting is easy and sometimes it’s NOT! But you know what? When you finally get it right, it’s oh-so-satisfying!
And with that, let me show you the FIVE failures (including 2 ruined zippers) that led up to success at last!
So… do you find it somewhat gratifying to see that fussy-cutting can be difficult for everyone, no matter how much experience they might have?
And please do stay tuned for our next post in this series, when I’ll show you the final pictures of this bag. I’m SO glad I stuck with it because I really like how it turned out! And you know what? I may actually like it all the more because of how hard I struggled with it, (but you’ve had a hard time convincing me of that after my 5th unsuccessful try)!
And now it’s YOUR turn!
Do you enjoy fussy-cutting or do you avoid it like the plague? And if you have any interesting storied involving fussy-cutting, I’d love to hear them. Please feel free to use the space provided below to share your stories or ideas.
Check out the best sewing pins with me on Pinterest, join in on discussions or show off your work in our FaceBook Group, or get your daily sewing fix on our Facebook Business Page or the behind the scenes scoops on Instagram! And don’t forget to check out our video tips & tricks on our You Tube Channel and be the 1st to know about new patterns, discount codes and sample sales by signing up for “Bag Making is Fun”, our bi-monthly newsletter.