So… over the last 20 some odd years that I’ve been designing bag patterns,
I’ve fielded LOTS of questions about bagmaking, but you know what?
The question I most often get asked is…
“What can I do to make my bags look more professional?”
And the truth is… this questions is actually the absolute easiest one to answer…
And that’s because my answer is ALWAYS the same…
press…Press… and keep on PRESSING every chance you get!!
And here’s the thing… pressing is SUCH an quick and easy thing to do…
so why not do it… every single time the instructions call for it?
Let me show you the difference it can make!

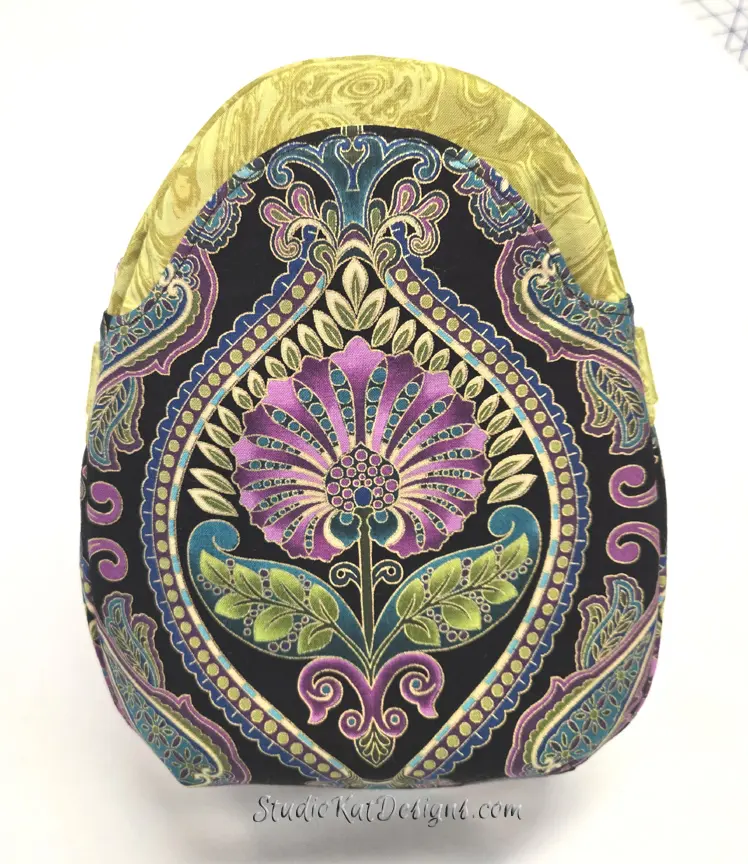
At left: is the unpressed version of our High Seas Convertible, and as you can see, the side seams are VERY rounded which is not pleasing at ALL! There’s a good deal of bulk in this area, so it’s going to take some pressing to make this area as crisp and flat as it needs to look.
But on the right is the same bag after being thoroughly pressed. Please note that now the seams are crisp, and the side areas of this bag are very difficult to see… that’s the way it should be. Now doesn’t this look SO much more professional?

The same is true on the backside of this bag! Just look how much of the side edges of this bag are “rolled out” and visible on the unpressed photo of this sample at right!
Remember... the whole point of pressing is to make this bag look crisp and edgy which is what you see in the photo at right!


But here’s the deal…
The pressing needs to start long before you get to the bag exterior! An edgy, pressed look BEGINS with pressing your bag AS YOU ARE SEWING IT UP!!!! There’s just no substitute for taking a moment to press as you go!!
And the point is… it really only takes a few seconds to achieve this look! So why not take the time to do it right??
Check it out in the video below!
And now…. it’s YOUR turn!
Are you a “presser” or a “non-presser”? I know pressing can be a pain in the neck and that an iron can sure heat up your sewing area, especially in the summertime, but it’s truly CRITICAL to a professional finished look for your bag! So how’s about giving it a try?
And if you have comments you’d like to share, suggestions you’d like to make, or questions you’d like to ask about the subject of pressing, please feel free to leave either or ALL in the space provided below.
Check out the best sewing pins with me on Pinterest, join in on discussions or show off your work in our FaceBook Group, or get your daily sewing fix on our Facebook Business Page or the behind the scenes scoops on Instagram! And don’t forget to check out our video tips & tricks on our You Tube Channel and be the 1st to know about new patterns, discount codes and sample sales by signing up for “Bag Making is Fun”, our bi-monthly newsletter.
6 Comments
Join Our Mailing List!
Click button below to get 15% off your 1st pattern!


I’m so pleased to see your video demonstration about pressing. I’d approached my final, outside of the bag pressing a little differently and it doesn’t work so well. I have several handheld pressing mitt types of things and find them difficult and a bit risky to use in terms of getting burned if it slips. I will definitely try your method of folding the seam outward when I make my next bag. Thank you so much! I’ve always wondered how you did it!
Thanks Beth! Let me know how it works for you?
🙂
I starch and press my fabrics before cutting out and after sewing each and every seam. Clipping threads as you go will also assist in a more professional appearance throughout construction.
I love your blog and designs!
Thanks you Jeri and I SO agree! Pressing is the one single thing that can ALWAYS improve the look of your project! 🙂
I probably press more than I sew! lol. Yes, pressing is the most important thing – it takes handmade things from looking homemade to looking professional.
SO true! Thanks for commenting Mea! 🙂