So…
we recently started a new edition of Purse Pattern Chronicles, and if you’re not familiar with that series, we like to encourage readers to suggest features they’d like to see included in the design. One suggestion that has repetitively been suggested is… a cross-body strap option. But you know what? This suggestion is always a little surprising to me because here’s the deal…
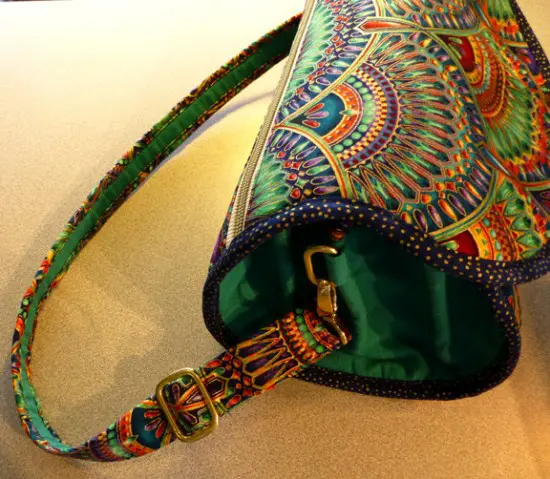
Adding a cross-body strap to almost any bag is quick and EASY!
There’s really TWO ways to carry your bag cross-body.
The first way is rather obvious; just make your strap long enough to do so, and if you intend to ALWAYS carry cross-body, then this is the way I would suggest going about it. BUT— if you want to exercise the option of occasionally carrying your bag shoulder-style, then here’s a quick tutorial for “how-to” add an adjustable cross-body strap to your bag!

Here’s what you’ll need:
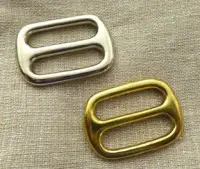
Assuming your bag already has D-rings or rectangular loops on each side, the only additional items you’ll need is a Slide Buckle, (pictured at left) and extra webbing (either the cotton or the polypropylene variety) for the strap and optionally, a couple of snap hooks so it can be removable and interchangeable between bags! Depending on how low you want to carry your bag in the cross-body style, you’ll need a total of about 60-70″ of webbing for your Strap.
Here’s how to install it:
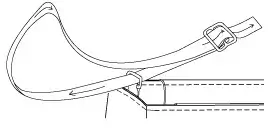
Adding a slide buckle to your strap configuration is super easy and the picture at right is a simplistic roadmap for you to follow. This set up will work for virtually any handbag that can legitimately be carried cross-body.
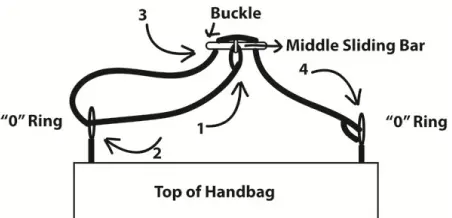
Here’s a few closeup drawings that might help you visualize the process.
1) Attach one webbing end to the middle bar of your slide buckle. Wrap your webbing end around your slide buckle’s middle bar and stitch it in place. Make sure you really reinforce the stitching in this area, particularly if you’re using a nylon type of webbing as it has a tendency to unravel. There’s a LOT of wear and tear in this location!
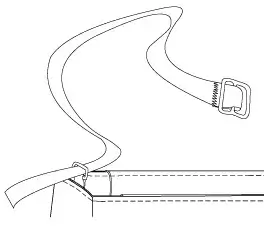
2) Pass your free webbing end through ONE of the corner rings.
3) Pull webbing up and over the ring passing the end INTO and THROUGH the buckle.
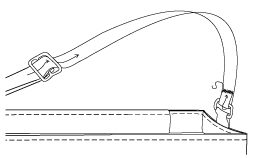
4) And finally, pass your free webbing end around and through your remaining ring or loop, anchoring the end in place to the webbing with reinforced stitching.
And voila! We’re DONE!
By following these four steps you should be able to transform most any handbag you have, into a convenient, handfree, cross-body bag!
So… what questions might you have for me?

Check out the best sewing pins with me on Pinterest, join in on discussions or show off your work in our FaceBook Group, or get your daily sewing fix on our Facebook Business Page or get behind the scenes scoops on Instagram, and be the 1st to know about new patterns, discount codes and sample sales by signing up for our monthly newsletter.
Related Posts

1 Comment

Join Our Mailing List!
Click button below to get 15% off your 1st pattern!

Thanks for reprinting this! You make it look so easy that I’m sure I can do it.